Key Takeaways
- Importance of Regular Maintenance: Regularly inspecting and repairing pool tiles can prevent larger issues and costly repairs, ensuring both safety and aesthetic appeal.
- Common Tile Issues: Be aware of common problems like cracks, loose tiles, stains, and chipping, which can affect both functionality and appearance.
- Essential Tools Needed: Gather necessary tools such as tile adhesive, grout, a tile cutter, and a trowel to efficiently perform minor pool tile repairs.
- Choosing the Right Materials: Select appropriate materials for repairs, including matching adhesives and grouts, to ensure a lasting and visually appealing result.
- Step-by-Step Repair Process: Follow a systematic approach that includes assessing damage, preparing the area, performing repairs, and adding finishing touches for optimal results.
- Satisfaction of DIY Repairs: Completing minor repairs yourself not only saves money but also provides a sense of accomplishment while enhancing the overall look of your pool.
Owning a pool can be a dream come true, but it comes with its share of maintenance challenges. Did you know that nearly 30% of pool owners face issues with cracked or loose tiles? Instead of calling in a professional, we can tackle these minor repairs ourselves, saving both time and money.
Overview of Pool Tile Repairs
Pool tile repairs are essential for maintaining the aesthetics and functionality of our swimming area. Many of us experience issues like loose or cracked tiles, and addressing these problems can prevent further damage.
Importance of Maintaining Pool Tiles
Maintaining pool tiles keeps our pool safe and visually appealing. Cracked tiles can lead to water leaks, which may eventually harm the pool structure. Regular check-ups and minor repairs help avoid costly future repairs. It’s wise for us to routinely inspect the tiles for damage. A well-maintained pool brings joy and relaxation, making summer gatherings enjoyable for family and friends. Plus, who doesn't want to impress guests with a sparkling pool? Let’s keep our pool looking inviting and welcoming!
Common Issues with Pool Tiles
Several issues can arise with pool tiles. Common problems include:
- Cracks: Cracked tiles not only affect appearance but may lead to water leakage.
- Loose Tiles: Tiles may loosen over time due to weather or water pressure, leading to potential hazards.
- Stains: Stains from algae, chlorine, or calcium can dull the tile's shine and affect cleanliness.
- Chipping: Chipped tiles can compromise the surface, increasing the risk of injuries.
Tools Needed for Minor Pool Tile Repairs
To perform minor pool tile repairs, we need a mix of essential and optional tools. Having the right tools simplifies the process and leads to effective results.
Essential Tools
- Tile adhesive: This helps in securing loose tiles. Choose a waterproof variety for long-lasting results.
- Grout: Grout fills gaps, preventing water intrusion. Opt for a color that matches existing tiles.
- Tile cutter: A manual or electric tile cutter makes precise cuts for fitting tiles into place.
- Trowel: A notched trowel applies adhesive evenly, ensuring a strong bond.
- Sponge: Use a damp sponge to clean up excess grout and adhesive.
- Safety glasses: Protect our eyes while working to avoid debris entering them.
- Gloves: Gloves shield our hands from sharp edges and chemicals.
Optional Tools for Enhanced Repairs
- Caulking gun: This tool helps in applying caulking smoothly around the edges of tiles.
- Tile leveling spacers: These spacers keep the tiles aligned for a polished look.
- Wet saw: A wet saw offers clean cuts and is helpful when working on larger tile projects.
- Utility knife: For trimming excess grout or adhesive, a utility knife proves handy.
- Measuring tape: Accurate measurements prevent mistakes in cutting tiles.
- Bucket: A bucket is essential for mixing grout or adhesive easily.
Having these tools on hand helps us tackle minor pool tile repairs effectively, making our pool area look great. What other tools do you think would be beneficial for this job?
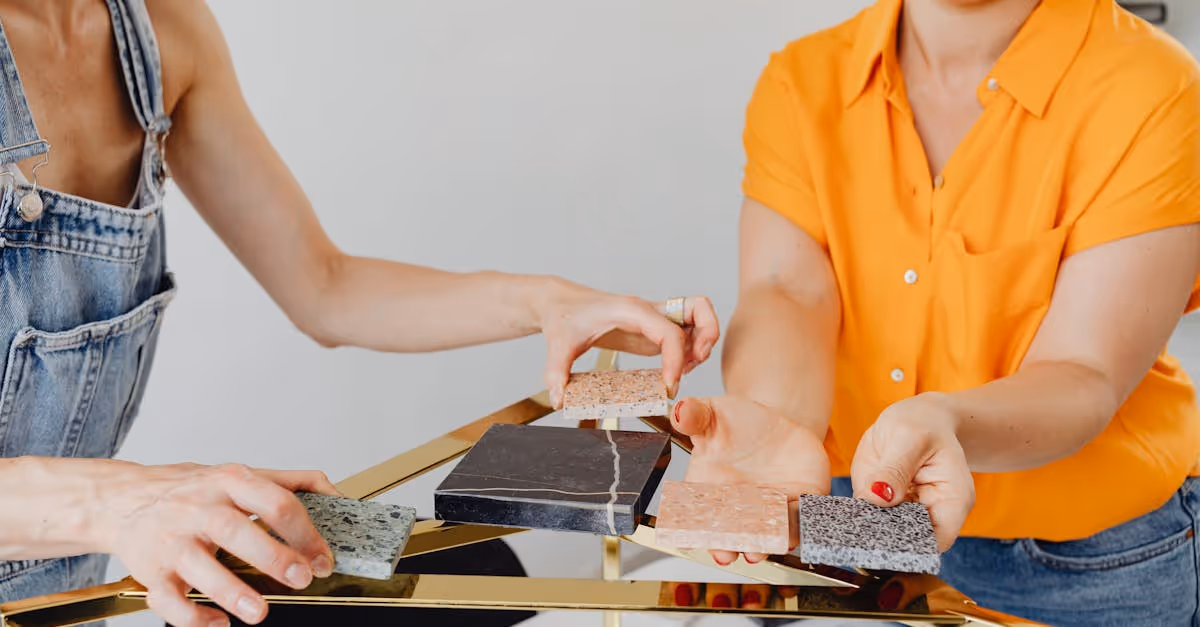
Materials Required for Repairs
Gathering the right materials simplifies minor pool tile repairs. With the tools mentioned earlier, we can dive into the specifics of what to collect for our repair project.
Types of Pool Tiles
We often see various types of pool tiles, each with its purpose. Ceramic tiles, known for their durability, are often preferred due to their vibrant colors and patterns. Porcelain tiles resist water and are less prone to chipping. Glass tiles add a splash of luxury but can be more challenging to install. Natural stone tiles provide an earthy charm but require sealing to prevent water damage. Knowing the type of tile already in your pool helps when buying replacements. Are you leaning toward replacing broken tiles with the same type, or are you eager for something different?
Adhesives and Grouts
Finding the right adhesive and grout is crucial for a lasting repair. Thin-set mortar works well for attaching tiles since it bonds securely to surfaces. For grout, look for epoxy or cement-based options. Epoxy grout is stain-resistant and perfect for wet areas, while cement grout proves easier to work with for DIY enthusiasts. Choosing a color that matches your tiles keeps the repair seamless and aesthetically pleasing. Always check the manufacturer’s instructions for compatibility between tiles and adhesives. When did you last check the grout lines? The right products can rally in this effort to restore our pools to their shiny glory.
Step-by-Step Guide to Performing Repairs
We provide a straightforward process for addressing minor pool tile repairs. By following these steps, we can maintain a beautiful and functional pool area.
Assessing the Damage
Assess the damaged tiles first. Look for cracks, loose pieces, or stains. Identifying the problem helps us understand what materials and tools are necessary. For instance, if a tile is loose, we can reattach it easily with the right adhesive. If there are multiple tiles affected, we can tackle repairs all at once. This method keeps our pool looking great and prevents further issues. Remember, a thorough inspection goes a long way in keeping our swimming area safe and inviting.
Preparation for Repair
Preparation is key for a successful repair. We begin by gathering all tools and materials, ensuring we have everything at hand. Clear the area around the pool tiles and remove any debris or loose grout. Safety glasses and gloves protect us during this process. Next, we may need to cut tiles for a perfect fit. Using a tile cutter, we can make clean cuts, avoiding any mess. It’s important to apply adhesive to the tile and the substrate for a strong bond. Ensuring proper surface preparation contributes to lasting repairs that look great.
Performing the Repair
Now comes the fun part: performing the repair. We start by applying the tile adhesive evenly to the back of the tile. Place the tile into position, pressing firmly to create a good bond. Use spacers to maintain even gaps if we’re working with multiple tiles. After placing the tiles, allow the adhesive to cure as per the manufacturer’s instructions. Gaps between tiles require grout; we fill these spaces using a trowel or grouting tool. Make sure to wipe away excess grout with a damp sponge for a clean finish. This process revives our pool’s look while giving us a sense of accomplishment.
Finishing Touches
Finishing touches make a significant difference. After the grout has set, we can seal it to protect against moisture and stains. A grout sealer prolongs the life of our repairs. Once the tiles and grout are fully cured, take a step back and admire our work. It’s satisfying to see the improvements we’ve made. Tidying up is the last step; clean tools and dispose of any waste. With everything in order, our pool will shine again, inviting us for that first dip.
Conclusion
Taking on minor pool tile repairs ourselves can be a rewarding experience. With the right tools and materials at our disposal we can enhance both the appearance and safety of our pool area. By regularly inspecting and addressing any issues we not only prevent further damage but also create a welcoming environment for family and friends.
As we tackle these repairs we gain valuable skills and confidence in maintaining our pool. So let’s roll up our sleeves and enjoy the satisfaction that comes from revitalizing our swimming space. Our efforts will surely pay off in the long run as we create a beautiful and functional oasis right in our backyard.
Frequently Asked Questions
What are common issues pool owners face with tiles?
Many pool owners experience issues such as cracked or loose tiles, stains, and chipping. Approximately 30% of pool owners encounter these problems, which can affect both the appearance and safety of the swimming area.
Can I repair pool tiles myself?
Yes! Minor pool tile repairs can often be handled by homeowners. Taking on these repairs yourself can save both time and money, making it a practical option for maintaining your pool.
What tools do I need for pool tile repairs?
Essential tools include tile adhesive, grout, a tile cutter, trowel, sponge, safety glasses, and gloves. Optional tools, like a caulking gun and wet saw, can also enhance the repair process.
How do I choose the right materials for tile repairs?
Selecting the right materials is crucial. Use thin-set mortar for tile attachment and epoxy or cement-based grout for filling gaps. Ensure the materials are compatible with your pool tiles for a lasting repair.
What are the steps for repairing pool tiles?
Start by assessing the damage, then gather your tools. Clear the area, cut the tiles for a perfect fit, apply adhesive, place the tiles, and fill gaps with grout. Finally, seal the grout to protect against moisture.
Why is regular maintenance of pool tiles important?
Regular maintenance of pool tiles prevents further damage and costly repairs. It enhances the pool's appearance and ensures a safe and enjoyable environment for summer gatherings with family and friends.